
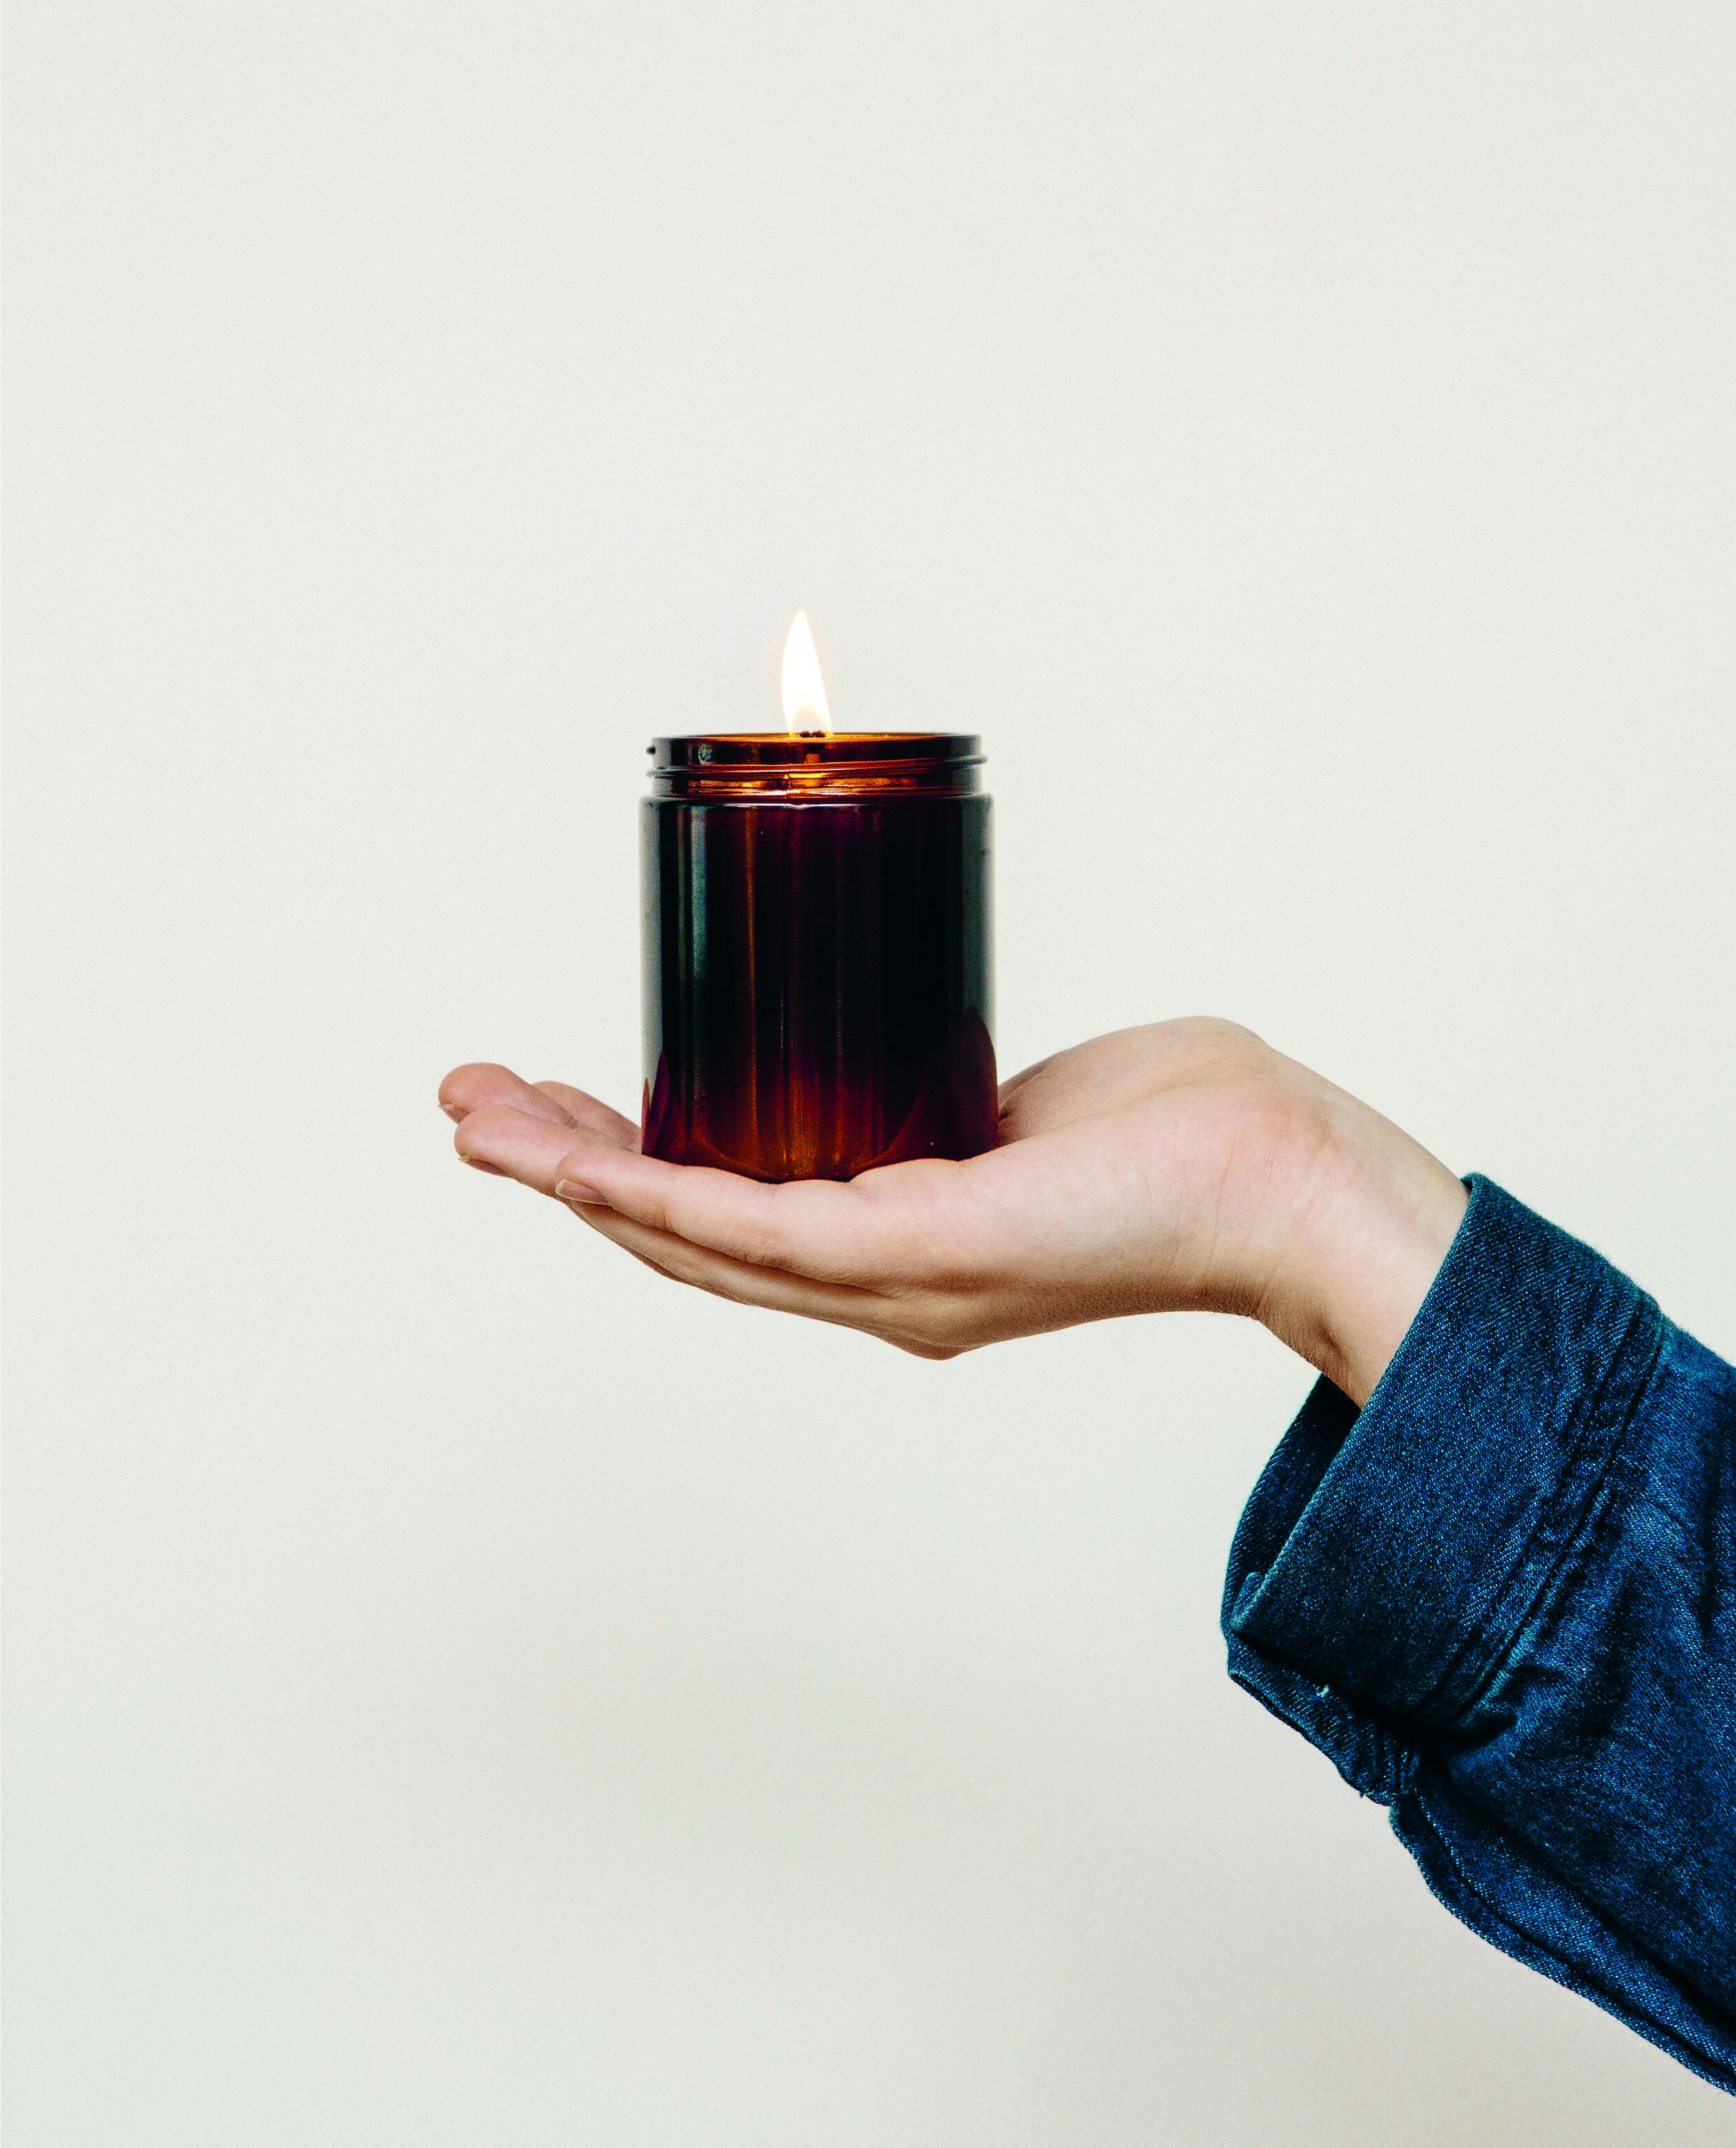
Humankind has always carried the fire, and brought it into our homes and life-affirming rituals. Candles are a simple and safe way of bringing this element into churches, temples and other sacred spaces. They also complete a self-care bath ritual. But commonly used paraffin candles release toxic compounds when lit, and have been identified as a problem by the government’s Clean Air Strategy report—not particularly conducive to relaxation or creating a sacred space.
Soy candles are a relatively clean alternative, producing an estimated tenth of the soot created by a paraffin candle. When possible, we prefer to make things ourselves. East of Earl have kindly allowed us to share and adapt a recipe from their new book, The Scented Candle Workshop. These aromatherapy soy candles aim to lift to your mood.
WELLNESS CANDLE
WHAT YOU WILL NEED
-A double-waller boiler pan or a heatproof bowl set over a pan of boiling water.
-Digital jeweller’s scale.
-Container soy wax – try eco-soya, advanced or 464 – you’ll need 1kg to make 5 candles.
-Wicks – you’ll want the right size based on the diameters of the containers you’re using.
-Containers – for this exercise, they should be the right size to hold a 200g candle.
Wellness oil blend:
You’ll need between 6 and 12 per cent essential oils. You can adjust some of the citrusy notes as long as the overall quantities stay the same; if you don’t like lavender, try neroli, jasmine or ylang ylang instead. Remember that the throw of this candle won’t necessarily fill a room, you are creating this for its aromatherapeutic benefits.
-7ml lavender
-5ml bergamot
-2ml grapefruit
-1ml lemon
-1ml spearmint
-2ml clary sage

THE METHOD
1. Start with measuring out the wax you need and place it in the double-walled boiler pan or a heatproof bowl set over a pan of boiling water. Keep a kitchen thermometer in the part of the pan or bowl with the wax at all times to make sure you’re monitoring its temperature throughout the process. Do not overheat.
While the wax is melting, start preparing the oil blend and the vessels you will be pouring into.
2. Start with the vessel. Using your glue gun or stickered wicks, attach the wick to the base of the vessel, making sure it is centred in the jar. You can use a straw to help you x the wick to the base.
3. You can now measure out the scent combination you have created. You will need a digital jeweller’s scale for this, to ensure the blend is accurate. By this point your wax should have melted. Check to make sure the temperature is between 65 and 75°C. Pour the wax out into one of the metal jugs and set aside to cool a little. Once the temperature of the wax is at a steady 65oC you can add your oil blend. Pour it in, stirring slowly clockwise and then anti-clockwise to ensure a thorough blend. We recommend then pouring it into the second metal jug and repeating this process to ensure an evenly distributed blend of oil and wax.
4. Place your wicked jars at even intervals on a tray or on a work surface covered with greaseproof paper – this will reduce any mess from spillage. Push the wick away from the direction of the pour to the side of the vessel – this will stop the wick splitting the ow and reduce any potential spillage. You can pour in the wax to the desired height of the vessel (we recommend leaving 1/2cm from the rim of the vessel, which is the perfect wick height – this is especially important if you are using containers with lids), or you can pour three- quarters of the way up to allow for a top pour once the vessel has set.
5. Once you’ve poured your candles, bring the wick gently back to the centre of the vessel and use the pegs to fix the wick in the centre of your creation. You can buy wick centring devices, which are useful if the diameter of your vessel exceeds the length of a standard peg. Create some friction between the peg and vessel to ensure the wick stays in place as the wax sets. You can do this by pushing the peg against the jar and pulling the wick ever so slightly at the same time.
6. Leave the candles until cool and set, then remove the pegs or wick-centring devices, clean around the vessels if necessary and trim the wicks to size. Now put the candles aside for another 48 hours to cure. The whole thing is pretty much an exercise in patience from start to finish!
You might notice that your candles have little spots or crystals on the surface, as we have mentioned earlier, this is known as frosting and occurs frequently with soy and other vegetable wax candles. A top pour or reheating will solve this and iron out any cracks that may appear in the top layer of your candle, creating a perfect smooth finish.

Tips:
-When melting the wax you will notice it forms a clump in the middle. Remove the pan from the heat at this point to avoid the wax overheating. If you do overheat it, make sure you allow the wax to cool before adding your oil blend.
-If you have spilled any wax over the sides of your vessel during the pour, leave it until it has set. It is much easier to clean away once cooled and set.
-You could also try using this same essential oil blend in an ultrasonic diffuser or with an oil burner.
This is an adapted extract from The Scented Candle Workshop by Niko Dafkos & Paul Firmin of Earl of East, published by Kyle Books, £20. Photography by Anna Batchelor